I am having trouble trying to render in the settings established by Pratt as they do not seem to be available to me even with the latest Adobe Software.
I likely do not have the codecs that Pratt uses for their own systems.
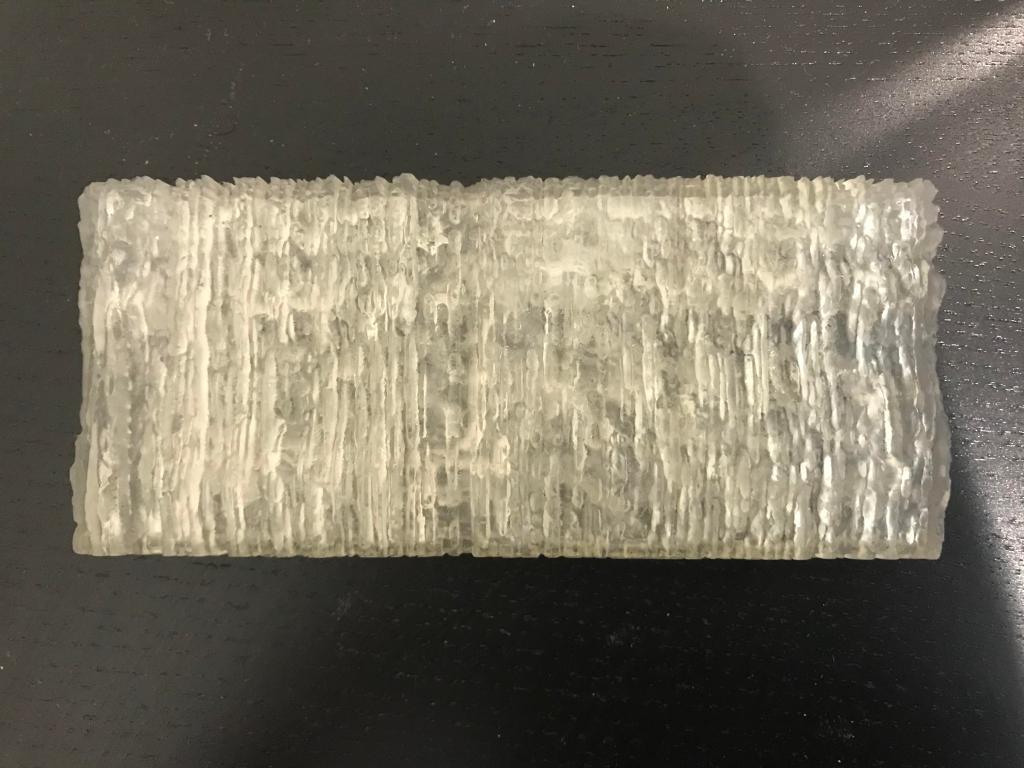
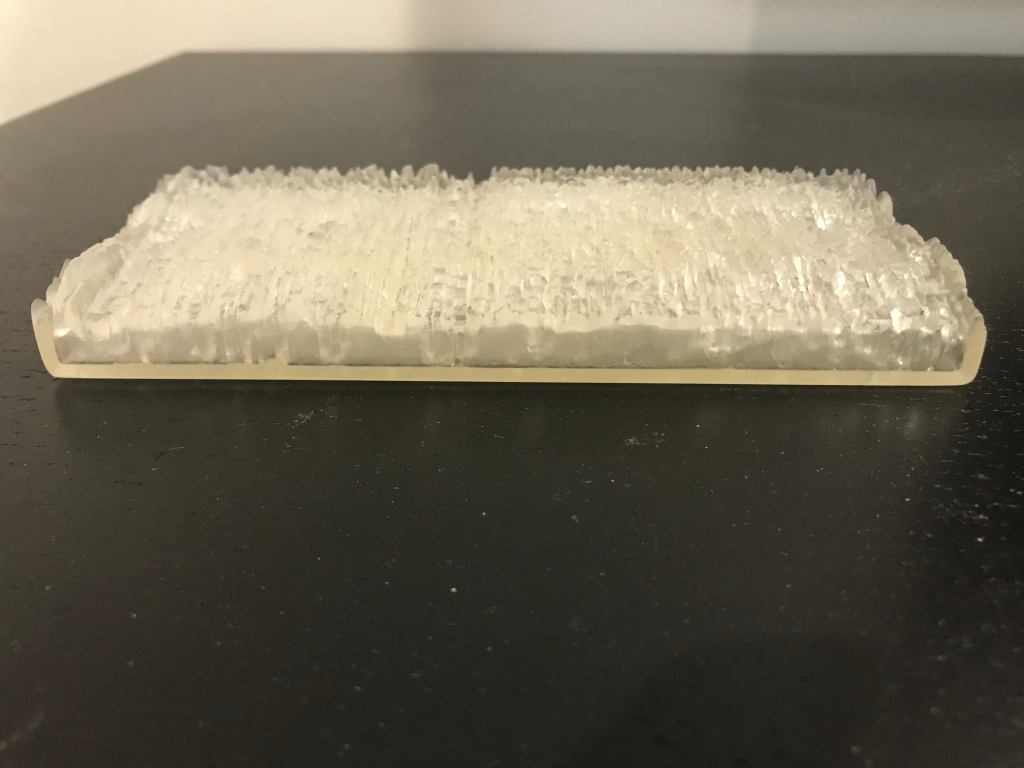
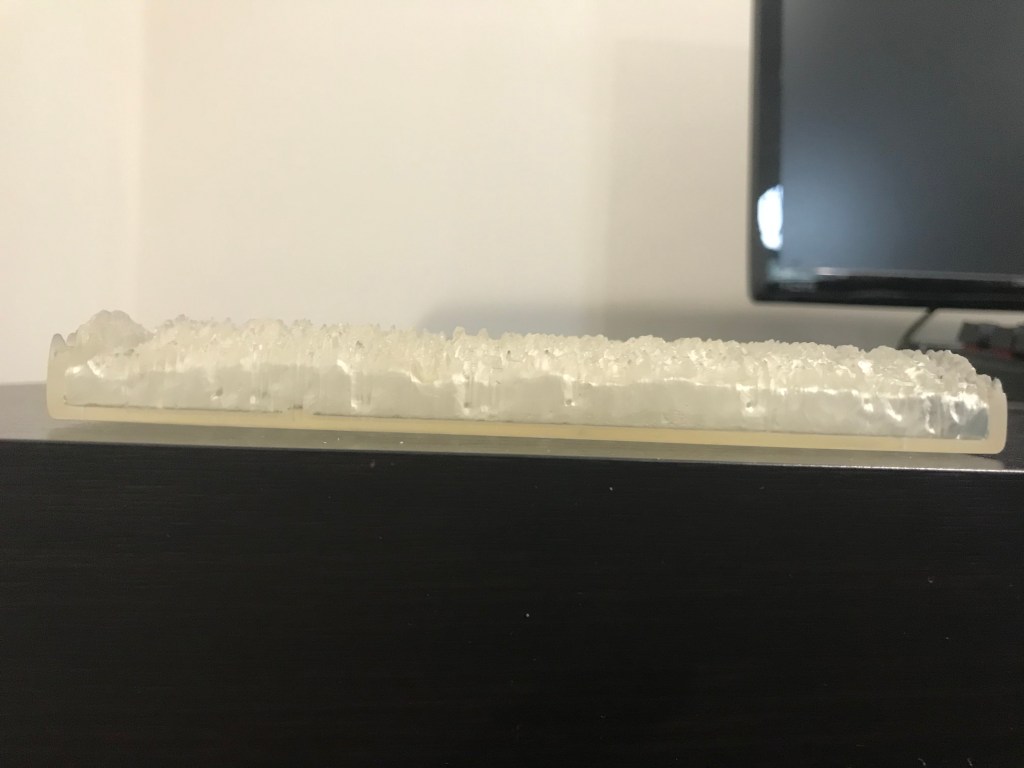
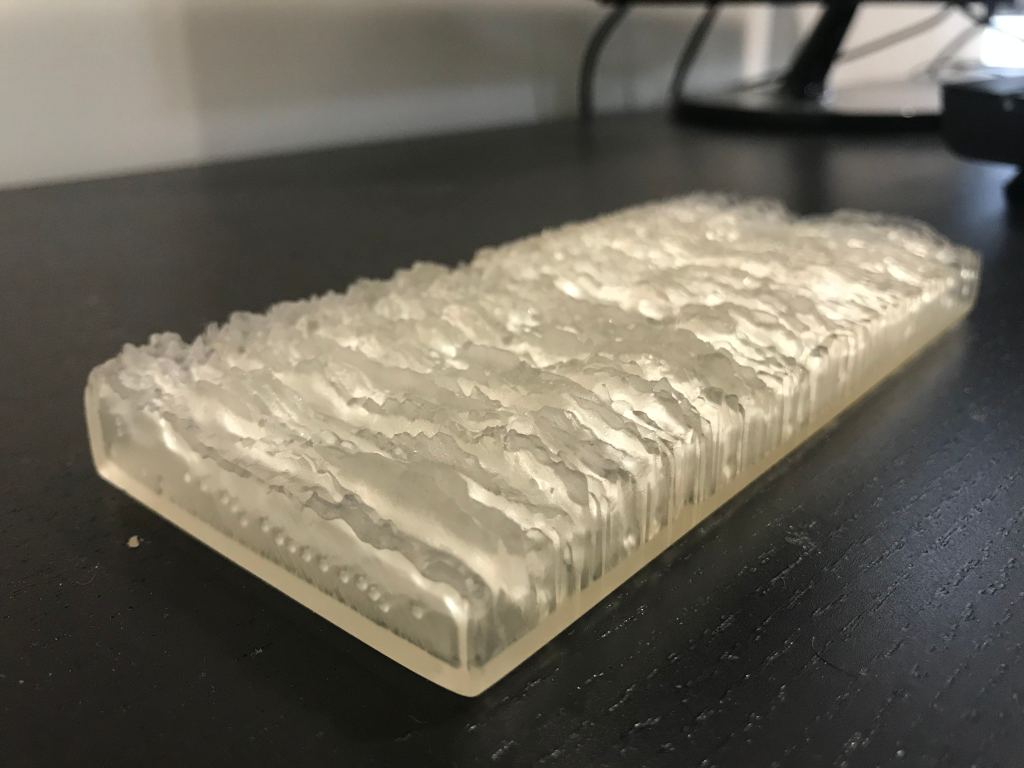
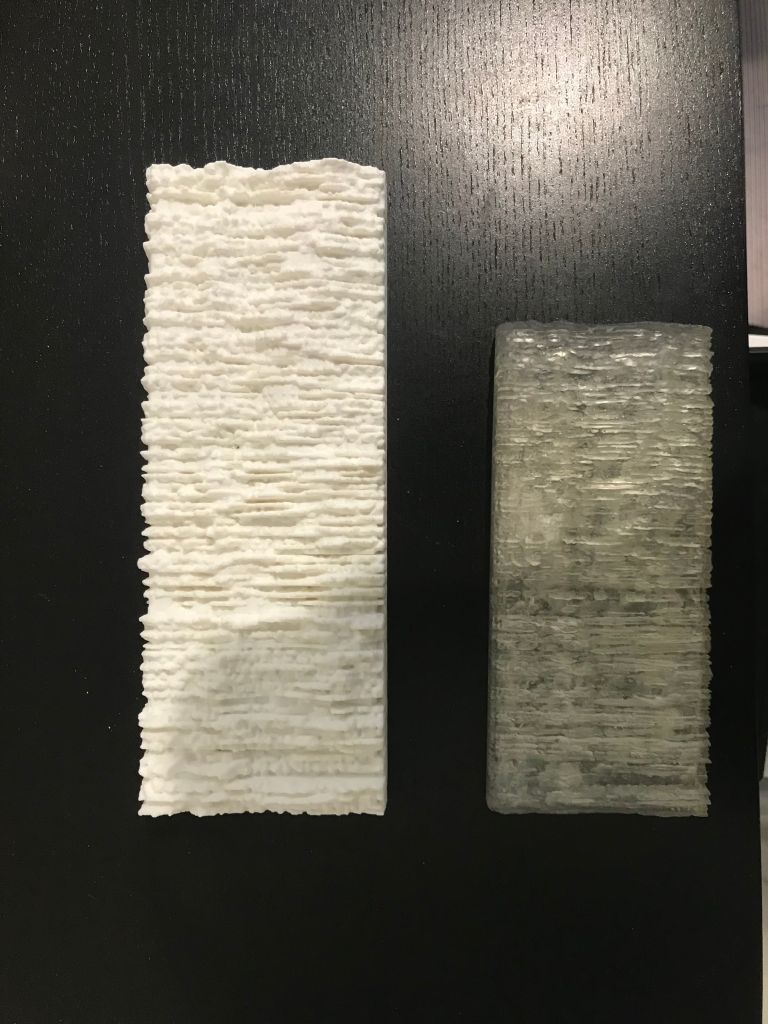
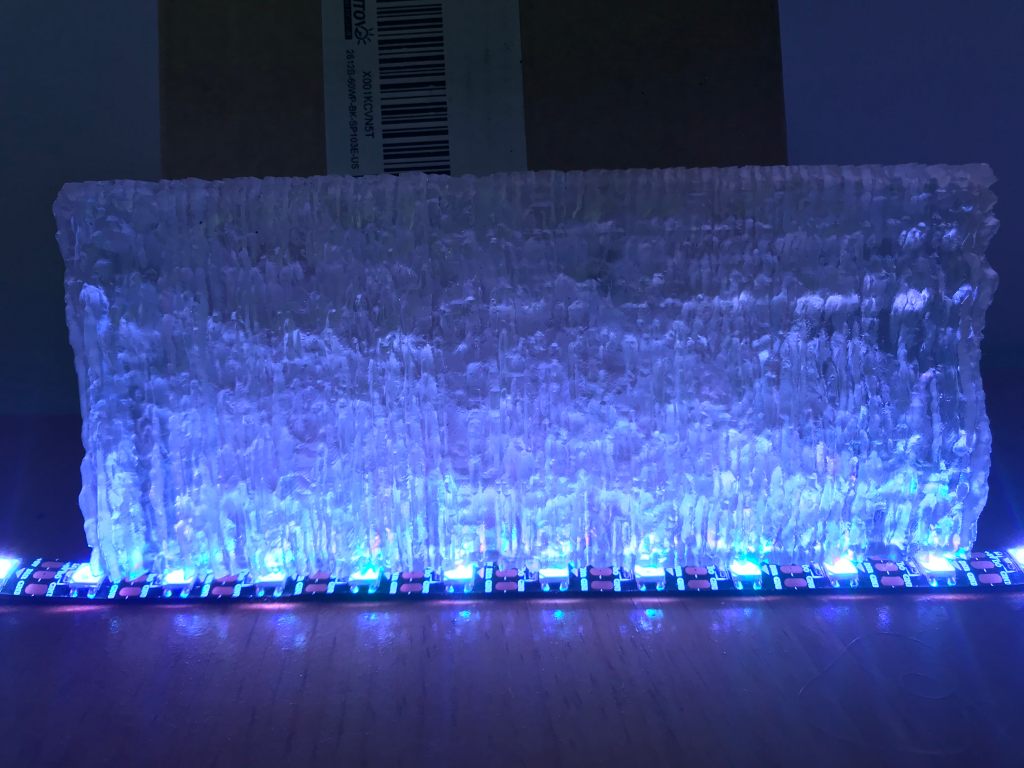
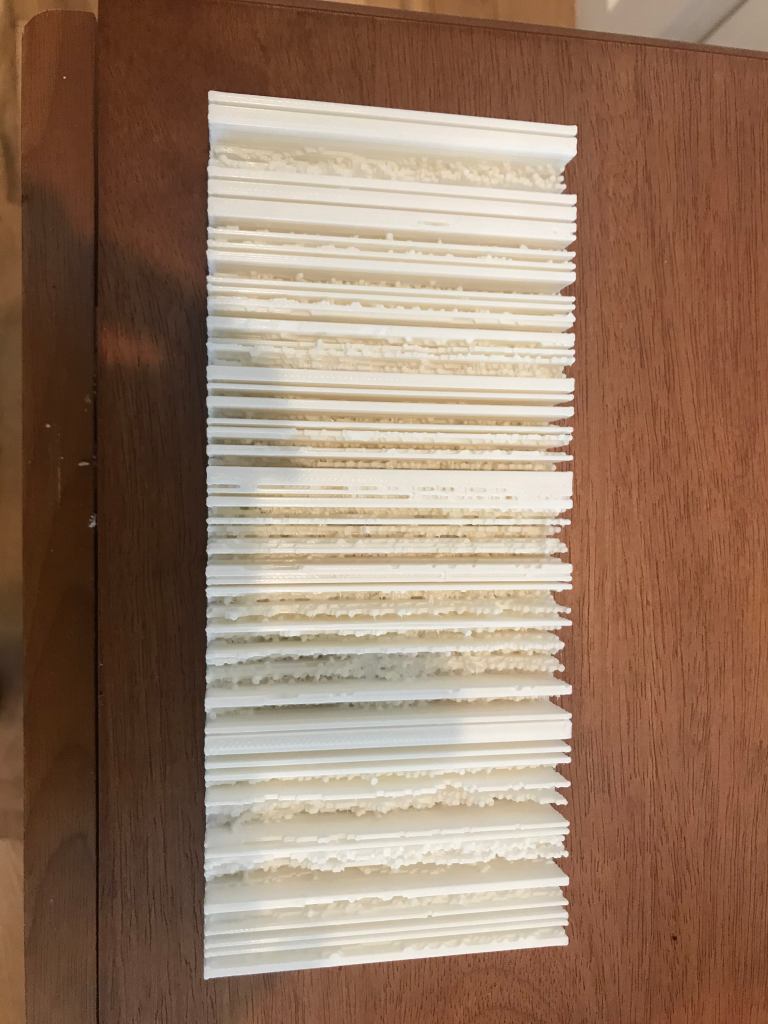
The resin print took about a week longer to arrived last Friday as there was mishap in shipping where Makelabs sent the print with someone else’s order. Thankfully they didn’t charge me for the second print. As for how the resin print looks, it doesn’t look as transparent as my previous cast but I believe it still adequately does the job after putting it under LEDs.
What remains?
All I have left to do is get a processing code running through the USB LED to progressively light up in time with the audio and I should be finished to record a video of this sample piece of what my project would look like practically along with the other samples.
In addition, I still need to finish the thesis paper as the past week has been hard on myself and my family after the recent passing of my grandfather.
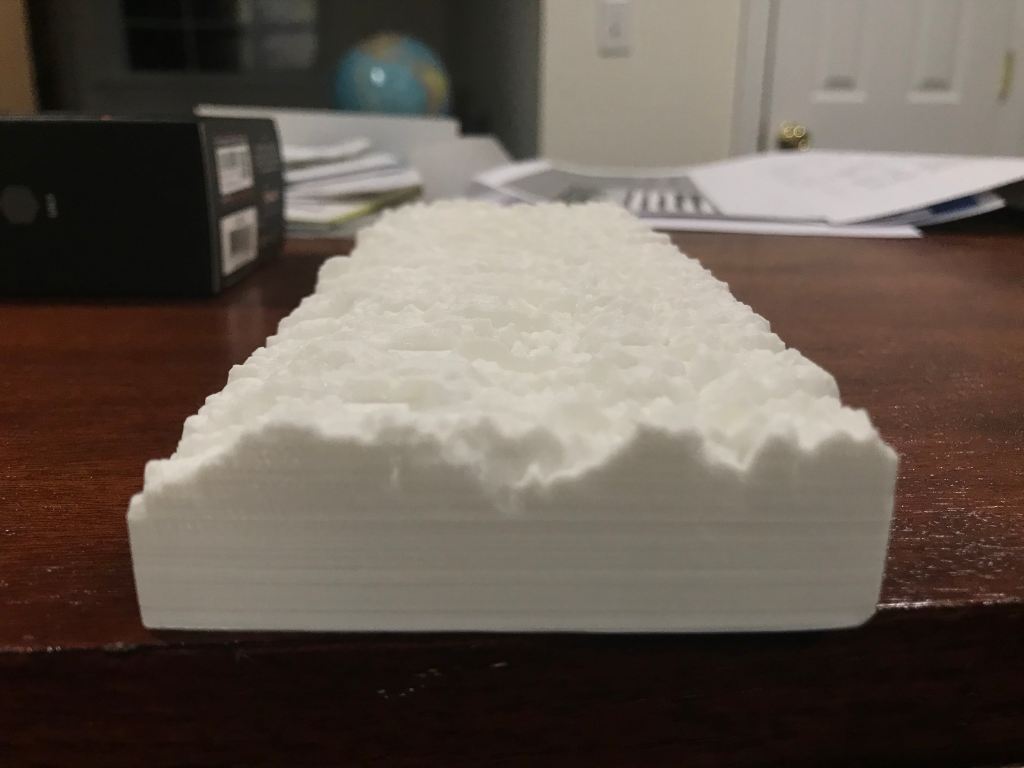
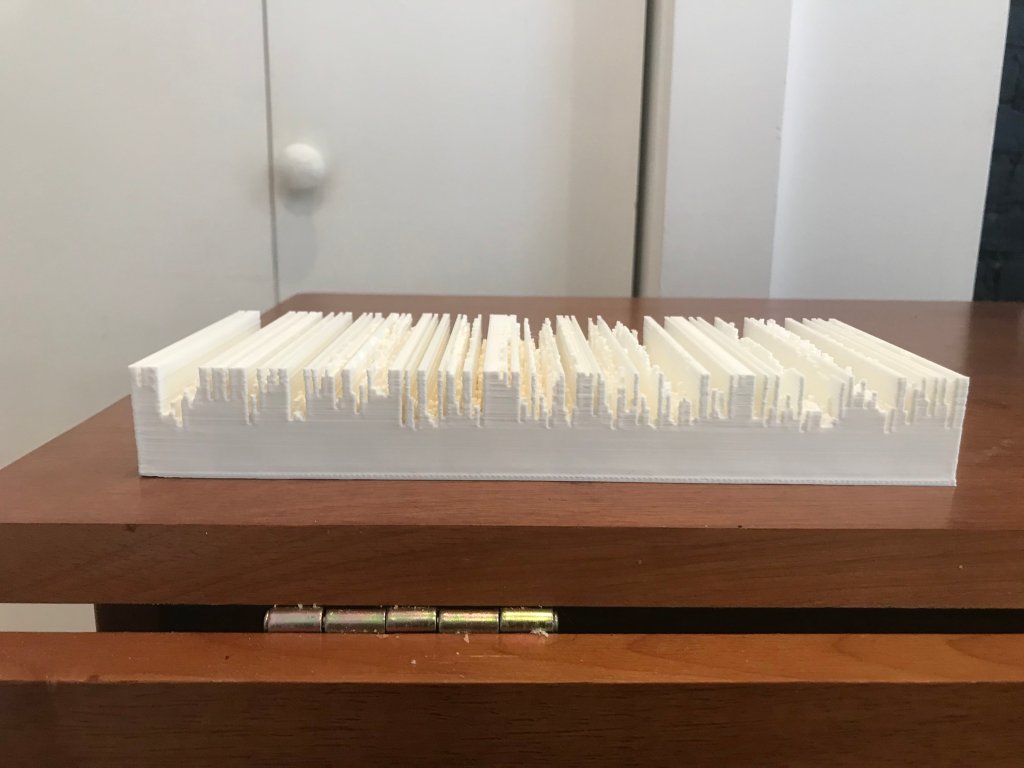
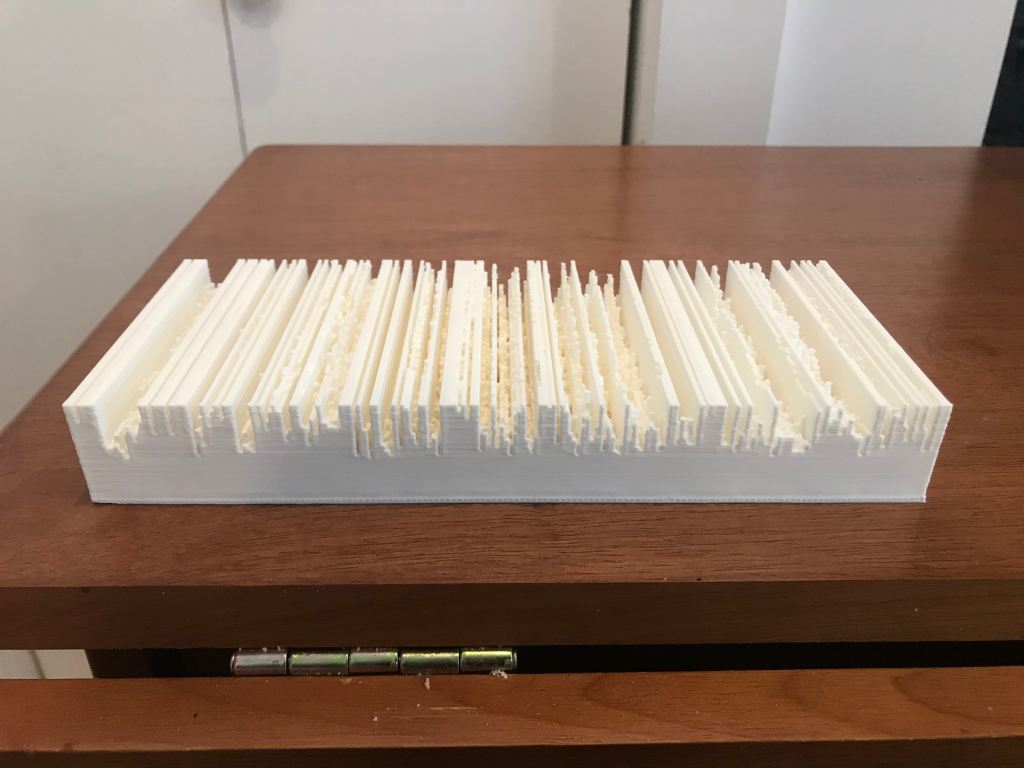
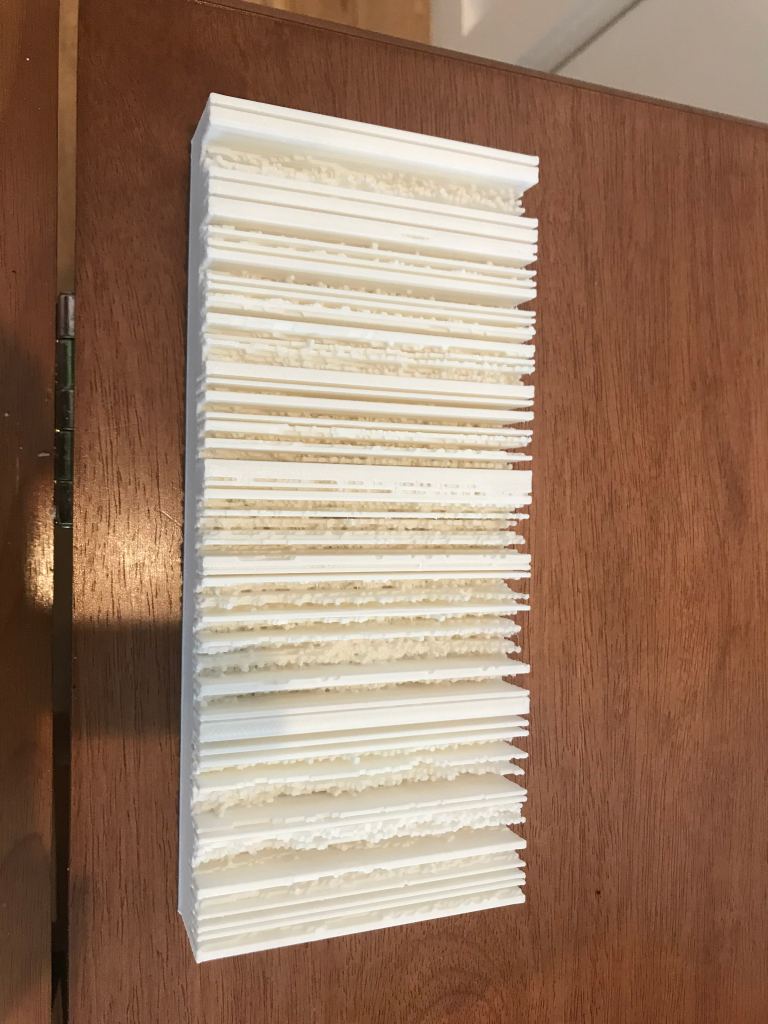
Before Pratt facilities shutdown, I believe I’ve gotten the best result for 3D Printing my objects in terms of detail.
Coronavirus Setbacks
Because of the Coronavirus shutting down school resources and facilities, I no longer have access to an affordable 3D printing service via Engineering, nor do I have access to professionally well ventilated area to make my resin casts, as such I’ve been looking for alternatives to see how I can accomplish the rest of my thesis and weighing my options.
I’ve also reached out Ashley Marcovitz, the faculty member who runs the 3D print lab in Engineering, for resources and recommendations on how I can optimize my prints without Magics, and where to outsource the files to be printed. She recommended me Autodesk Netfabb to optimize my files and pointed me towards Shapeways for printing as they offer 15% off for Students. However, the my prints will have to be reduced to 6 inches from 8, as any size above 6 inches increases the price tremendously due to larger printers being used.
I have also looked into Makelabs.nyc for direct resin printing and found that I can get each of my objects printed in clear resin for around $160 each, so considering my own safety as to not use resin in an uncontrolled space, I will likely go with this option to finish my prints. I’ve ordered a test print to see how it turns out.
Resin Print Status (04/01/2020)
The resin print is scheduled to be delivered sometime today or tomorrow. I will be updating this page when it arrives.
Using the same model, the estimate I received from engineering for 1 print was ~$190. As the amount of layers needed to print greatly increases the cost. However, hollowing out the model would also reduce this cost. I will go about hollowing my test model to see what that price would entail this week (I assume it would reduce it by half, maybe more).
If it’s affordable, I will go ahead with that method of printing. If not, I will stick to my own resin casting process.
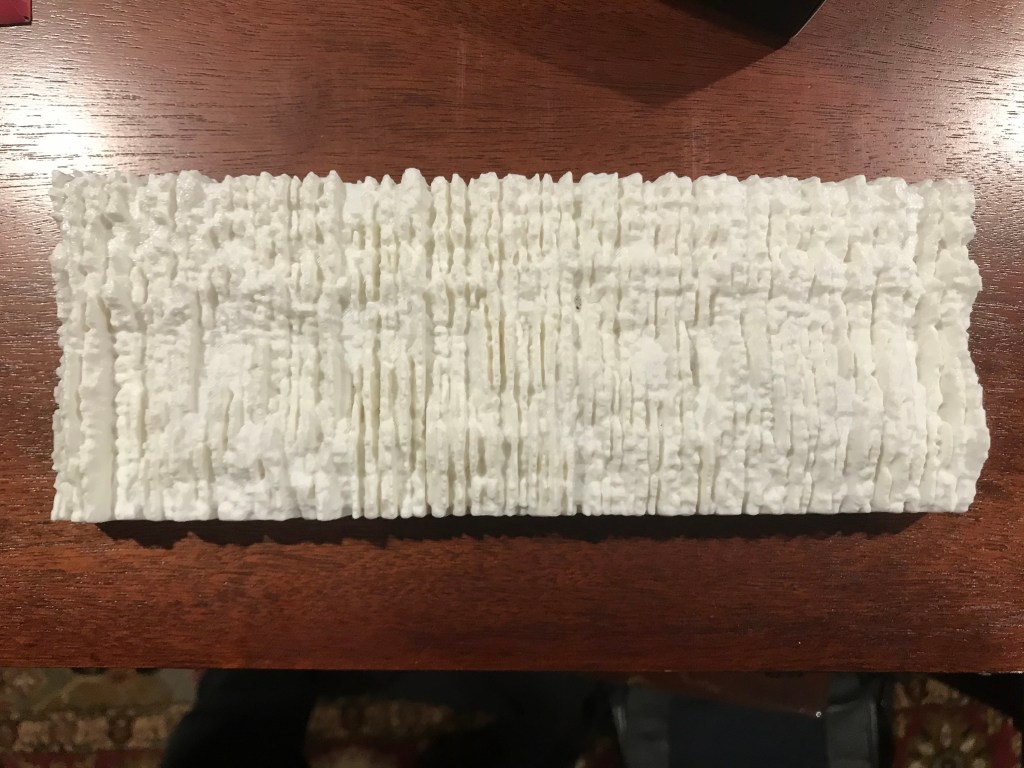
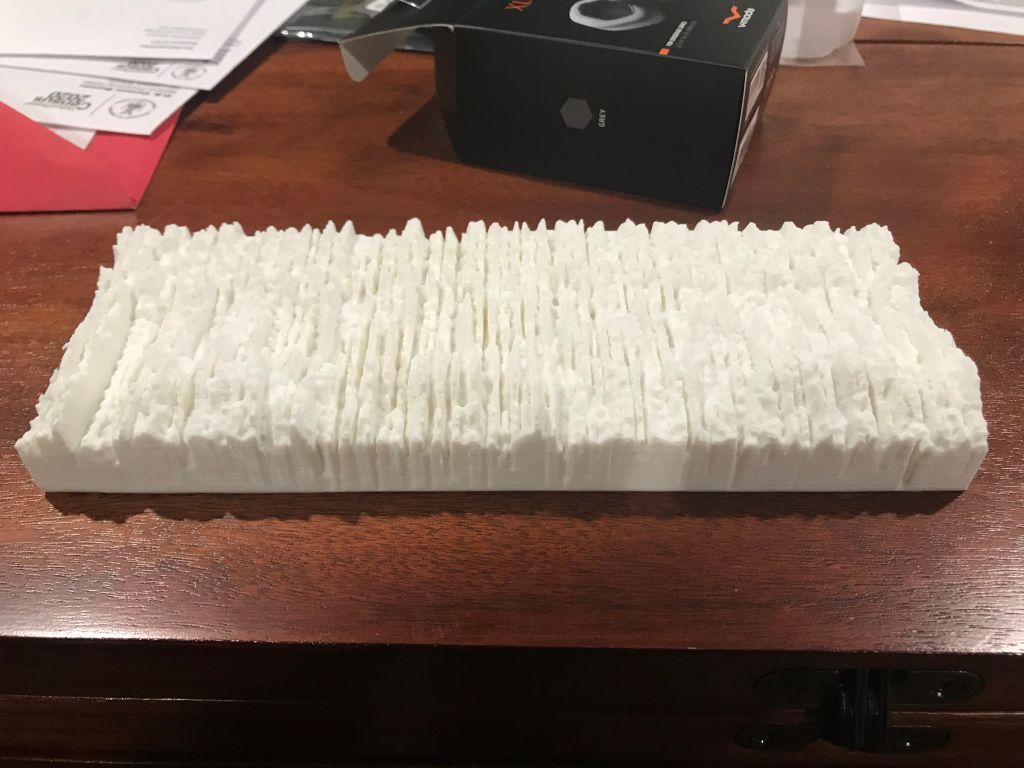
Reworking Models to show more depth rather than flat surfaces
After taking in the feedback from the group meeting I went in and re-worked the models to show more depth, as the previous versions, though detailed were more flat.
Meeting 1-1Meeting 1-2Meeting 1-3Meeting 1-4
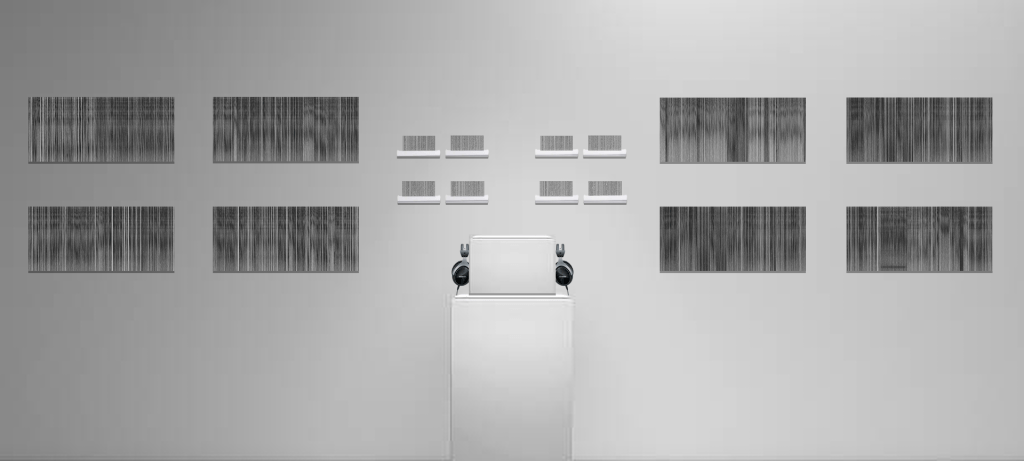
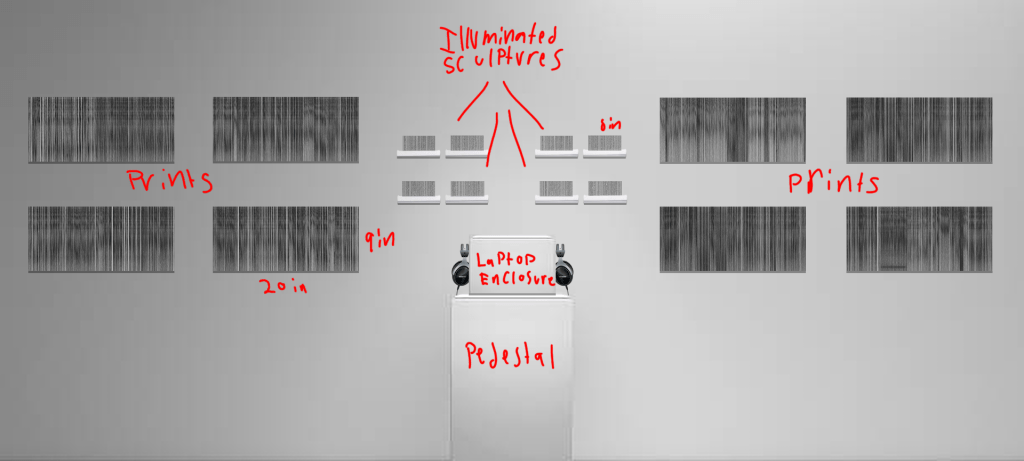
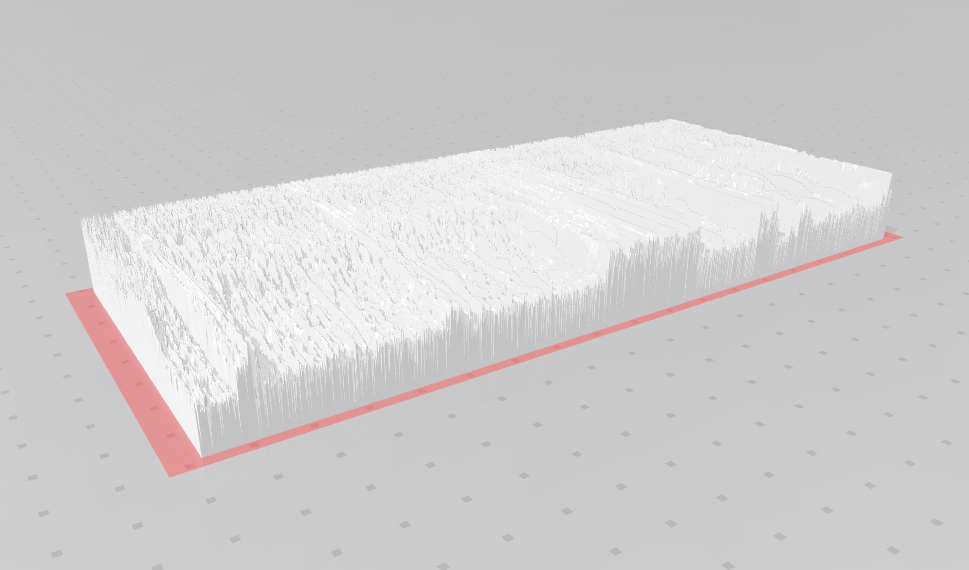
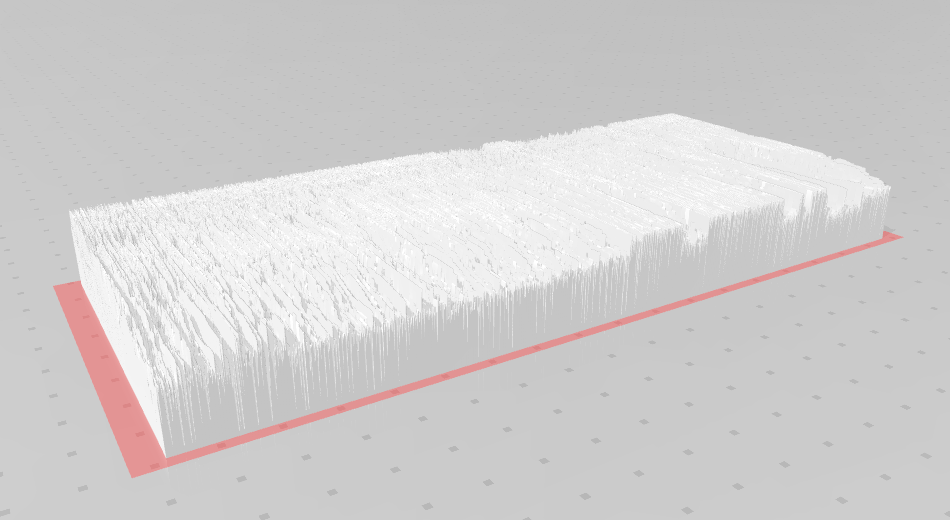
Final Exhibition Render Draft 1
Went ahead and made a Render for myself to better visual size the small area that will likely be assigned to me.
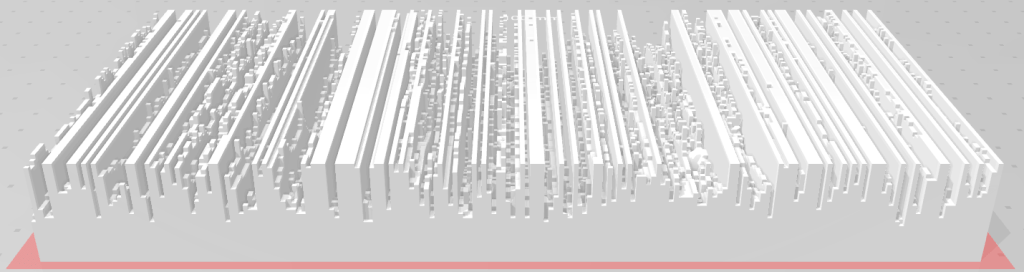
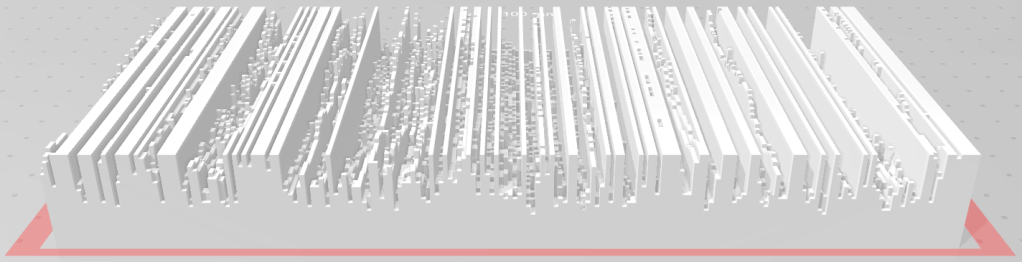
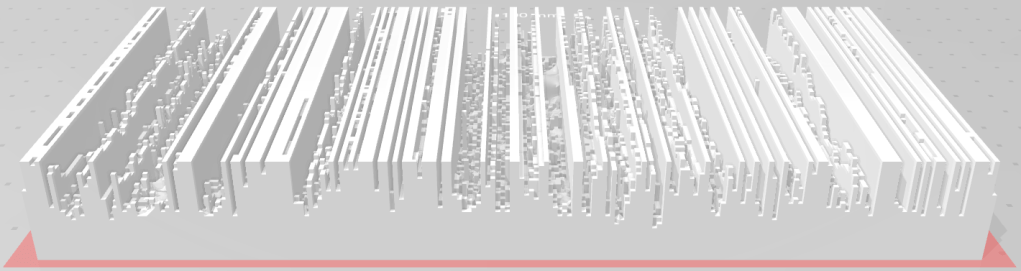
Will try to preserve as much detail from spectrogram image as possible this time around and not sacrifice detail by smoothing things over. In doing this the file size will be much larger, but I will try to get 1 test print done over in engineering after refining the model in the magics software.
As both pieces of audio will be played simultaneously, and the contexts of said meeting being brought up several times within the audio, I believe the length of each piece and the difference in length shouldn’t detract from the piece.
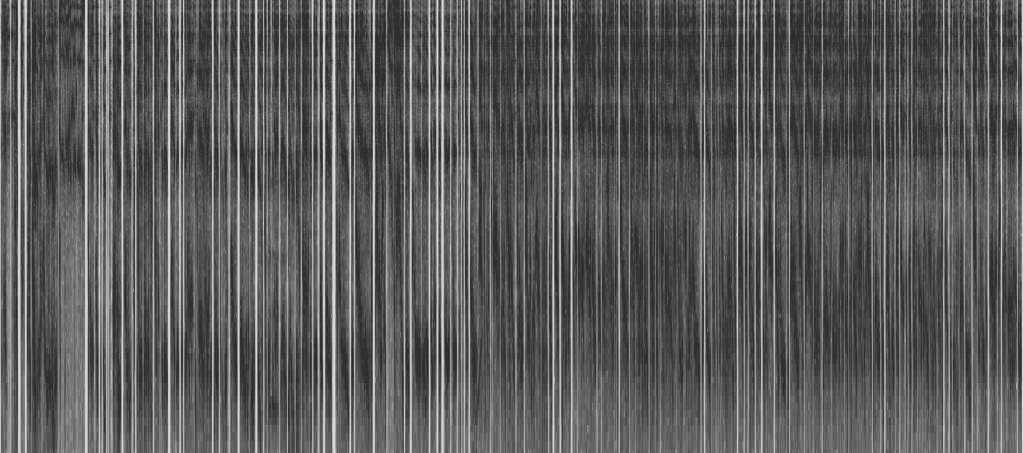
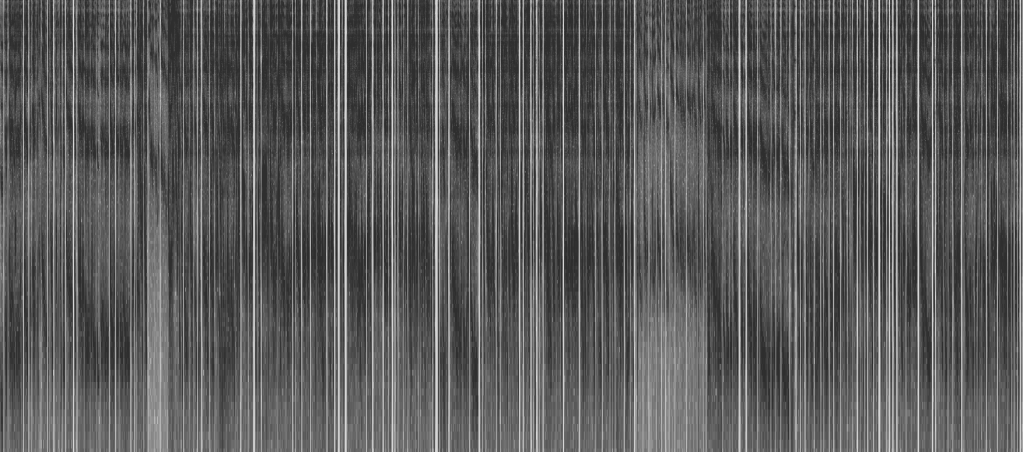
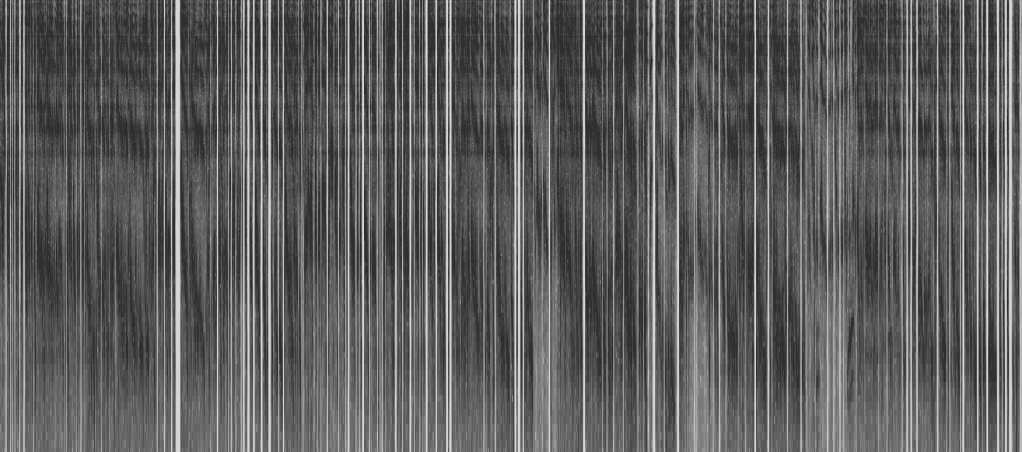
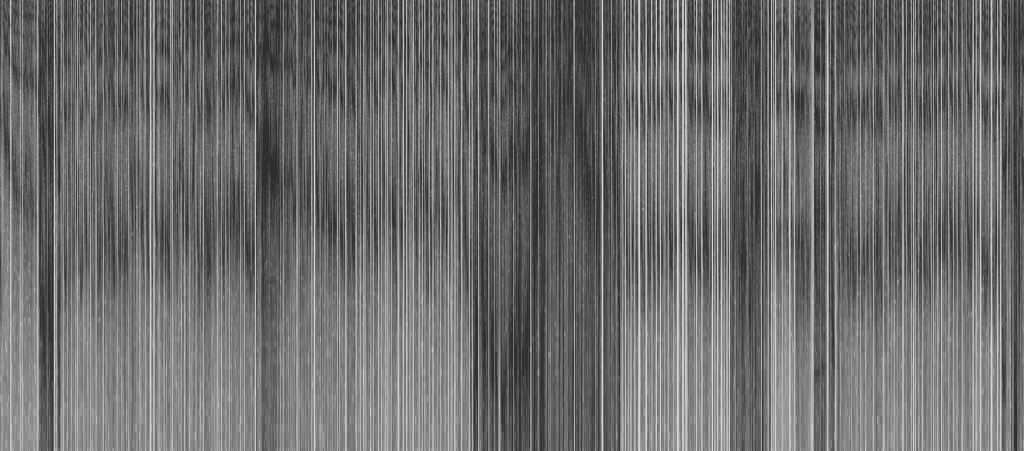
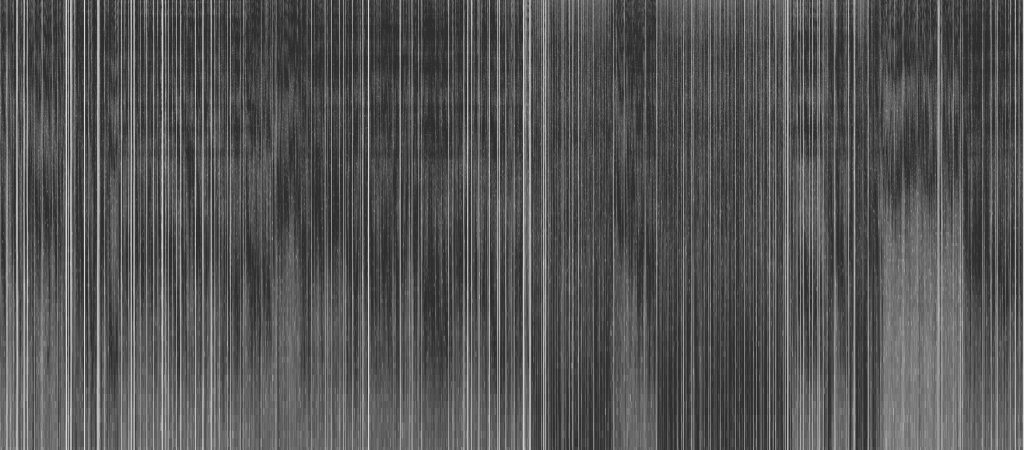
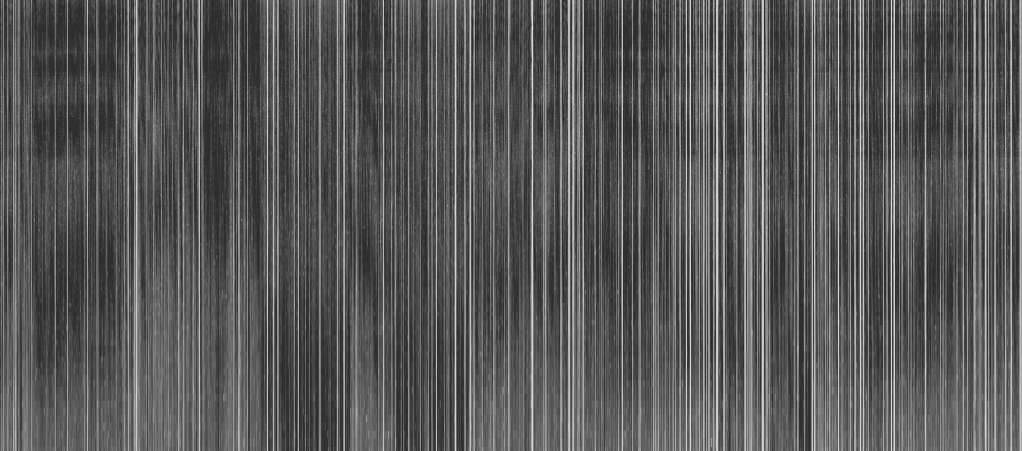
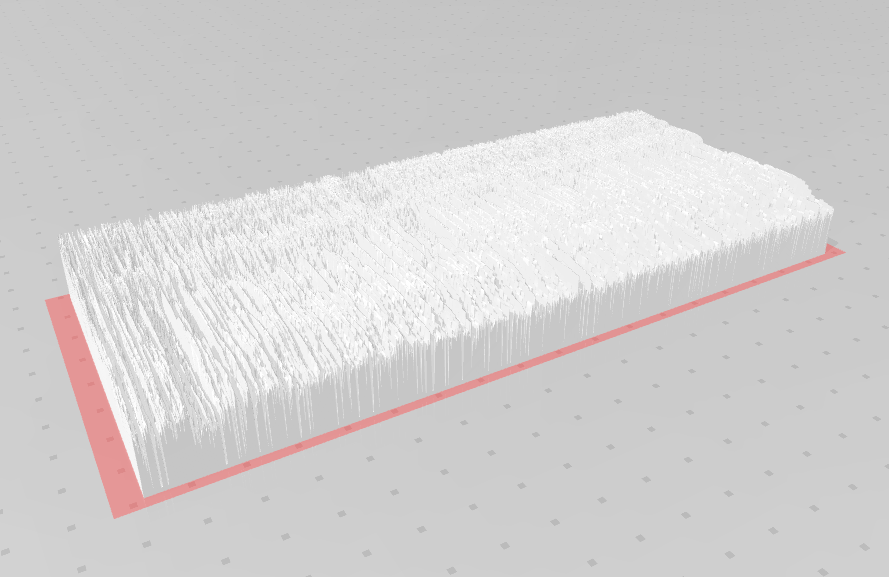
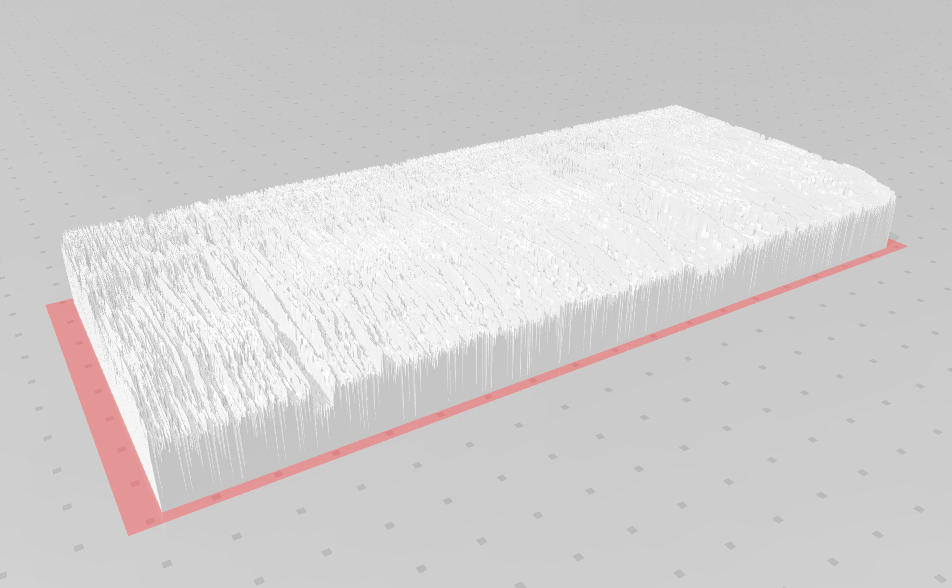
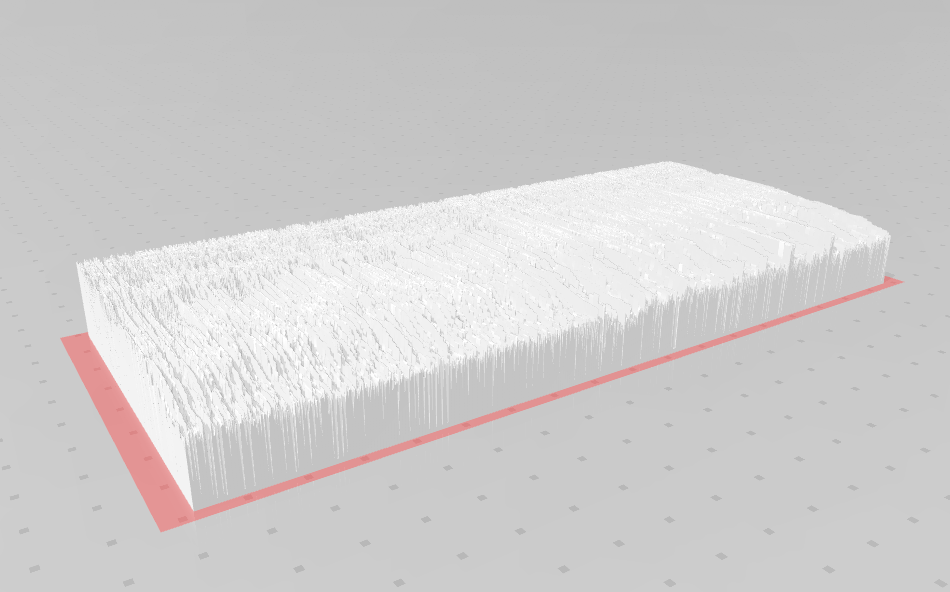
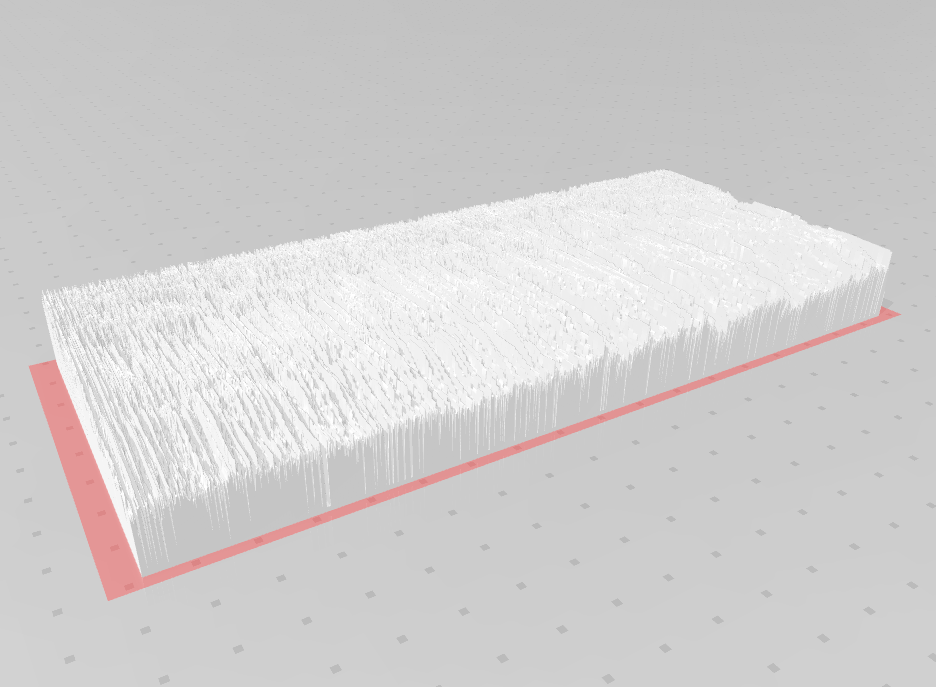
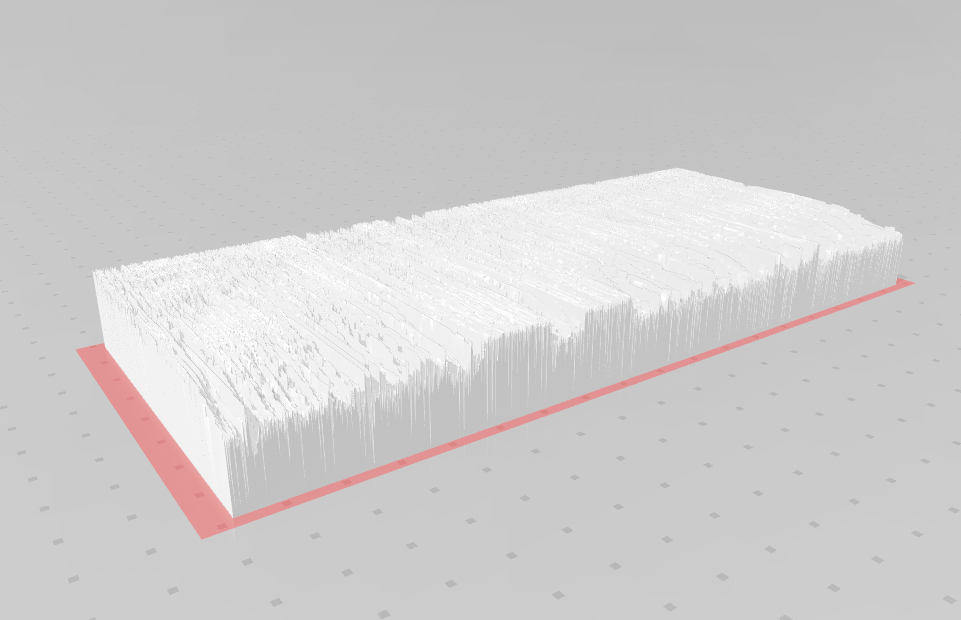
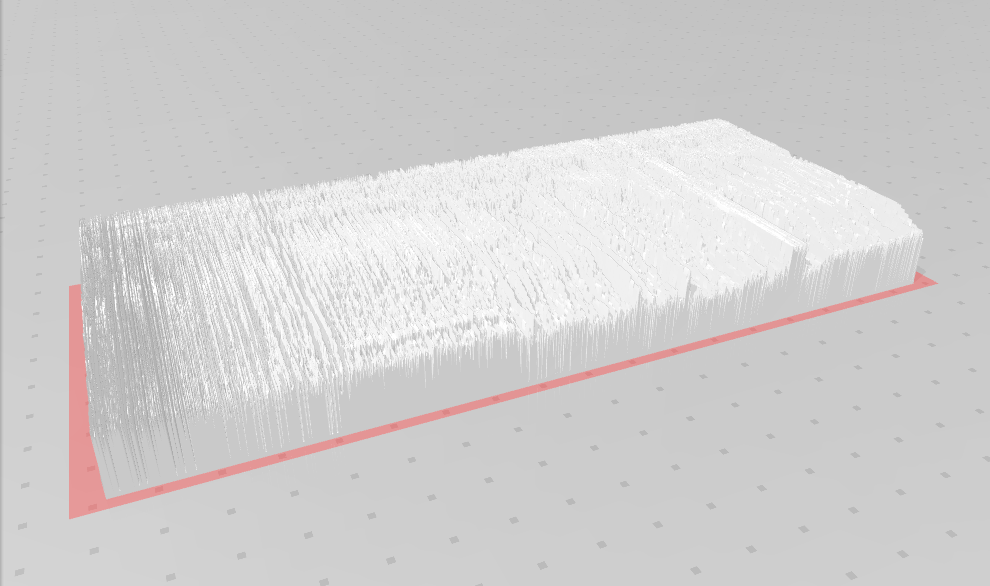
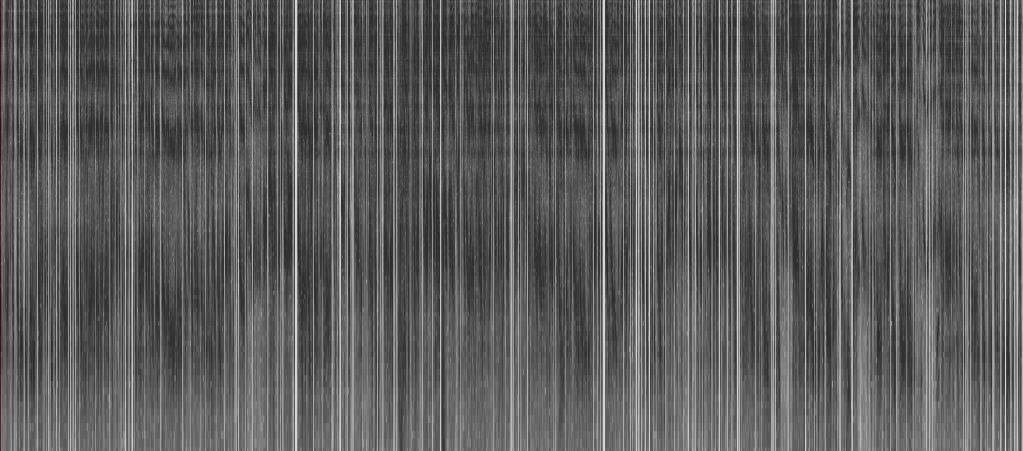
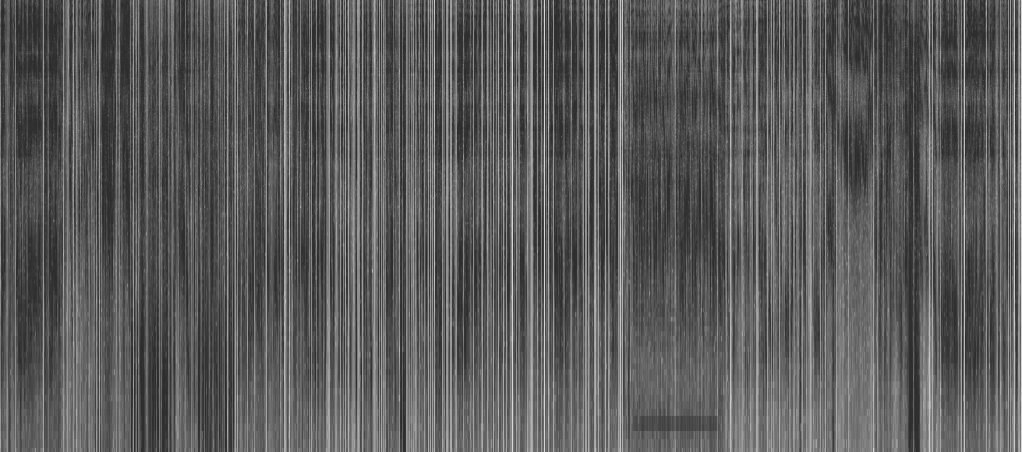
New Audio Spectrograms:
The range of frequencies the images display has been reduced to the human vocal range of 85 hz – 900 hz. This is to better display when different people are speaking.
This mold took about ~12 hours to cure. Also, by vacuum degassing out all the air pockets after mixing the two plastic materials needed to start the curing process, there are little to no air pockets in the mold.
Test Mold – Made of Mold Max 30, Cast volume of ~200 mL.
Thesis project itself is an area that I feel relatively comfortable with, in regards to making objects and cutting audio and video content in a timely manner.
What I worry will consume too much time is figuring out how to physically display the project, and how much technical engineering will be needed for LED lighting if it is indeed necessary to have.
Lastly the Thesis paper, obviously still needs to be worked on with the proper formatting.
What has been done over Winter Break?
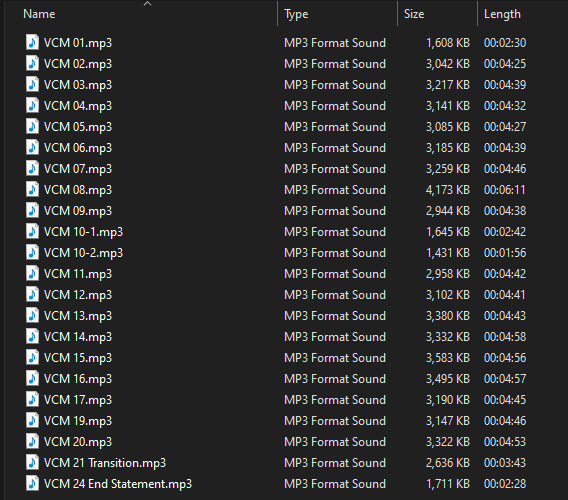
Cut down audioofcommunity meeting
Overly long pauses in Speech have been removed
Unnecessary conversations have been removed towards the end.
Meeting have been cut into 2 parts, part one being a public monologue of Server/Community owner addressing the problems that have been brought forward regarding several transgressions about the community and how its ran (including a case of Sexual harassment that occurred), and part two being members of the community reacting to the monologue which in turn bring the Server/Community owner back from work to address how they feel, and how he feels.
Part one is ~42 Minutes Long in its current draft
Part two is ~ 50 Minutes Long in its current draft
~15-20 minutes of audio have been cut, not including the third part of the meeting which was 2 hours long and already cut out.
Will see about re-reviewing this further to see what more can be cutting for listener retention.
Once this is done, I can go back to re-modeling the sound files and drafting a mixed media concept of a video screen with the community chat being shown, the resin sound sculptures, and potentially individually accessible LEDs.